Multiplatform debugging environment, Part 2 (Linux)
Remote debugging for Linux
There is no port of Visual Studio Remote Debugger for Linux, so we cannot use the same technology as for Windows. Let’s think what we have on Linux. Yes, GDB. But gdb needs source code and symbol table to do all the debug stuff.
One solution is to use gdbserver on debug machine and connect to this server using gdb from computer with source codes (Windows XP). As far as I know VS does not work with gdb, so if we want to use GDB GUI, we need to install Netbeans or Eclipse on Windows. I don’t like this solution.
Another, better solution is to mount windows shared folder with source codes, symbol table, executable file and so on.
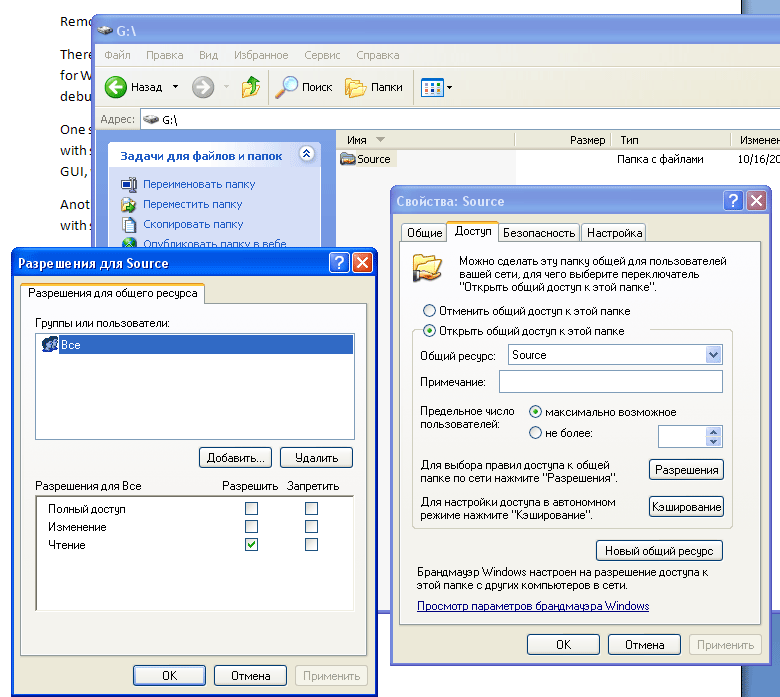
First of all, you need to create shared folder.

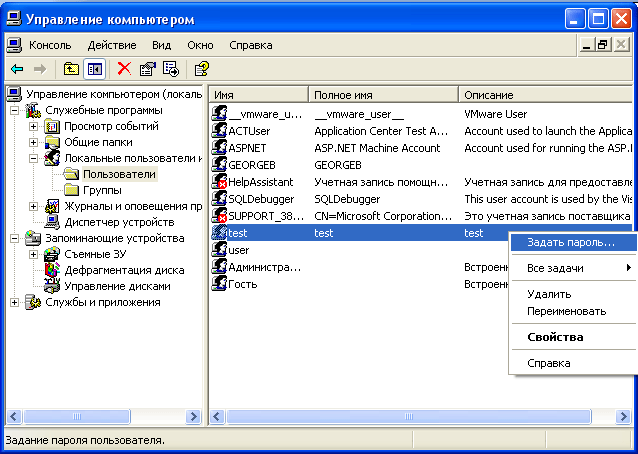
If you do not have a special “guest” user, please create one and choose a password for him.

Now we need to simulate the same folder structure on the Linux computer as on the source one. This is done for the gdb to be able to find both source code and symbol tables. For example, assume that the project directory with source code is G:\Source and the path to the executable is G:\Source\project\exe\lx\debug\english\schedmgr.exe.
First of all, mount the windows shared folder
sudo mkdir /mnt/G:
sudo mkdir /mnt/G:/Source
sudo mount –t cifs –o username=guest_user,password=guest_password     //dev-gburanov/Source      /mnt/G:/Source
It is better to add automatic mounting on logon. To do this, add the following line to etc/fstab.
//deb-gburanov/Source /mnt/G:/Source cifs auto,username=user,password=guest_password 0 0
Now we need to set the correct paths to the gdb. To do this, we can use gdb configuration file .gdbinit. Create the file (if it is not created yet) in your home folder (i.e. /home/gburanov). Add two lines to the file:
dir /mnt
path /mnt
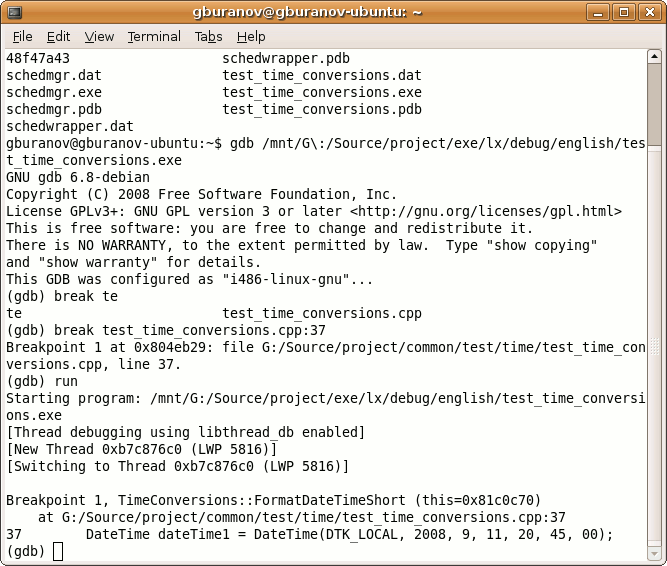
Now when the gdb will start searching for G:\Source\our_project.cpp on the linux machine, it will try to add /mnt at the beginning of the path (now it will be /mnt/G:/source/our_project.cpp), and as soon as we mounted the share, this is correct path. That’s all we need for the gdb debugger. Now we can use it to debug solution in terminal.

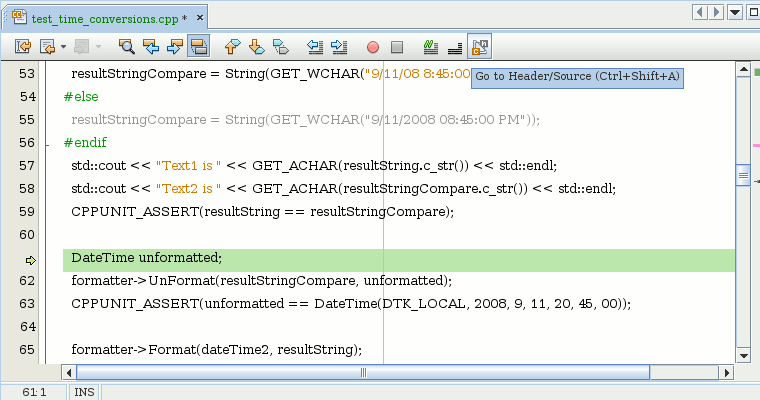
About GUI. Now, when you have done gdb configuration, you can use any GUI you want. I prefer NetBeans. There is one hint about Netbeans – it does not understand “:” symbol , so I create another one directory for executables only.
ln -s /mnt/G\:/Source/project/exe/lx/ /home/gburanov/NetBeansProjects/executables/
Now all you need to do is to create new empty project, add the executable file as Linker Output (in our case /home/gburanov/NetBeansProjects/executables/lx/debug/English/test_time_conversions.exe, remove Build First checkbox, put breakpoints and… done.

